This story originally appeared on Rodale’s Organic Life in August 2017.
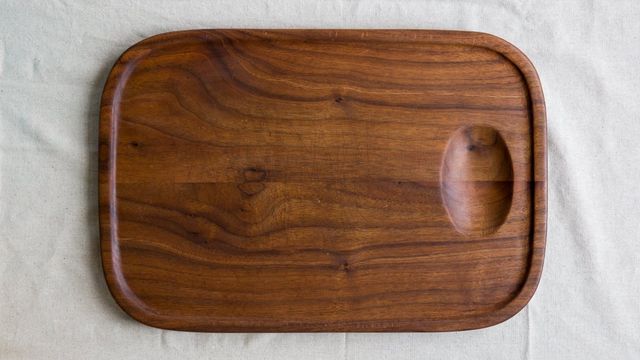
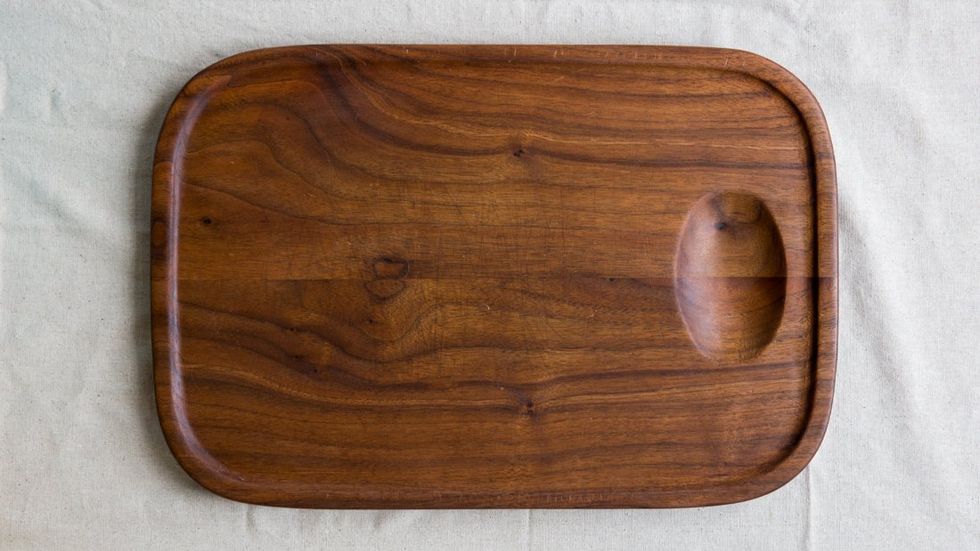
Beautiful vintage wooden cutting boards are a steal at thrift shops and flea markets. The only trouble is, they're sometimes a bit worse for wear—rough and dry, rather than shiny and water resistant. Instead of passing them up for a shiny new model made from virgin timber, though, you should snap up those antiques for a song because it's so easy to restore them to their former glory. All it takes is a few natural cleaning ingredients and 30 minutes!
What you'll need
Beeswax (small block or a handful of pellets)
Coconut oil
Large glass mason jar
White vinegar
Coarse salt
Lemon
Sandpaper: coarse (80-grit), medium (120-grit), and fine (220-grit)
Cloth towel
Step 1: Make a wood butter
To start, prepare a natural wood butter that will be used to seal and shine the cutting board in the final step. Place 1 part beeswax into a large glass canning jar, and then let the jar sit in a pan of simmering water. Once beeswax has melted, add 4 parts coconut oil to the jar, and stir until completely melted and combined with beeswax. Remove from heat, and allow to cool and solidify while you continue with step 2.
Related: 8 Kitchen Items You Should Never Buy At The Thrift Store
Step 2: Clean and disinfect
Use a cloth to wipe down the cutting board with vinegar. Depending on the state of your board, you may need to soak the board in vinegar for a few minutes to be sure to really disinfect it. Rinse with warm water, and wipe dry. Next, sprinkle coarse sea salt onto the board, and scrub the salt into the board with a lemon half, being sure to squeeze juice out as you scrub. (Lemon juice disinfects while sea salt works out the grit.) Let the lemon juice and salt mixture sit for a few minutes before rinsing with warm water. Wipe dry with a cloth.
Related: 12 Things You Can Clean With A Lemon
Step 3: Sand it down
Starting with 80-grit sandpaper, sand the cutting board along the grain to remove deep cuts and dents. Wipe with a damp cloth, and let dry completely before repeating with 120-grit and finally 220-grit sandpaper. The cutting board should feel quite smooth at this point and will be much lighter in color.
Related: How To Clean And Restore A Vintage Wooden Salad Bowl
Step 4: Condition with wood butter
Use a clean cloth to rub wood butter into the board until well oiled, being sure not to skip the edges and back. Let sit for a few hours, and then buff with a clean cloth to remove any remaining surface oil so the board is no longer tacky.
Step 5: Keep it looking good
To keep your refurbished cutting board in tip-top shape, scrub with hot soapy water after use and wipe dry before storing. Once a month recondition the board with wood butter.
Related: Plastic Vs. Wooden Cutting Boards: Which Kind Is Better?
