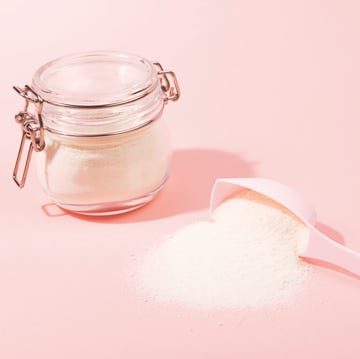
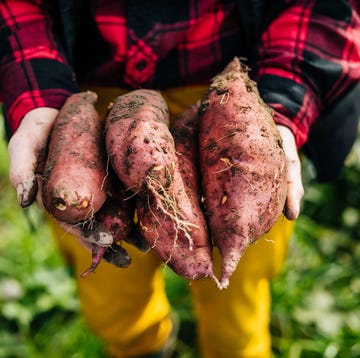
Sure, you can buy turmeric powder from the spice department to whip up your own golden milk, turmeric lattes, turmeric smoothies, or turmeric tea, but aficionados swear by fresh turmeric for the best flavor and possible health benefits. And while you can find the fresh stuff in health food stores and even mainstream grocery stores, it isn’t cheap.
Luckily turmeric is easy to grow if you have a sunny spot to put a large pot or planter. Give it what it likes and it will grow like a weed and reward you with attractive tropical foliage and a generous harvest of fresh turmeric.
Turmeric (Curcuma longa) is a tropical plant in the same family as ginger. Not a dainty plant, turmeric has large green leaves and grows 3 or more feet tall. As the plant matures each stem sends up a spike of greenish-white and occasionally pink flowers. Like ginger, turmeric thrives in warm, humid conditions and well-drained, neutral soil.
Preparing to Plant
In most parts of the U.S. turmeric will produce best if you plant it indoors in the late winter. Depending on your indoor and outdoor space you can either keep it inside as a houseplant all summer or move it outside once all chance of frost is past and the weather is warm enough to put out your pepper and eggplant seedlings. And if you live in Zones 8-11, you can grow it completely outdoors.
1. Calculate when to plant.
Turmeric takes seven to 10 months from planting to harvest. To figure out when you should plant, count back 10 months from when you usually get your first frost in the fall. My first frost is around mid-October, so I'd start my turmeric between mid-December and mid-March. If your growing season is longer, or you have a large and sunny indoor space to grow it, your timing is less critical, but you're still likely to get the best results from planting in late winter through spring.
2. Source your rhizomes.
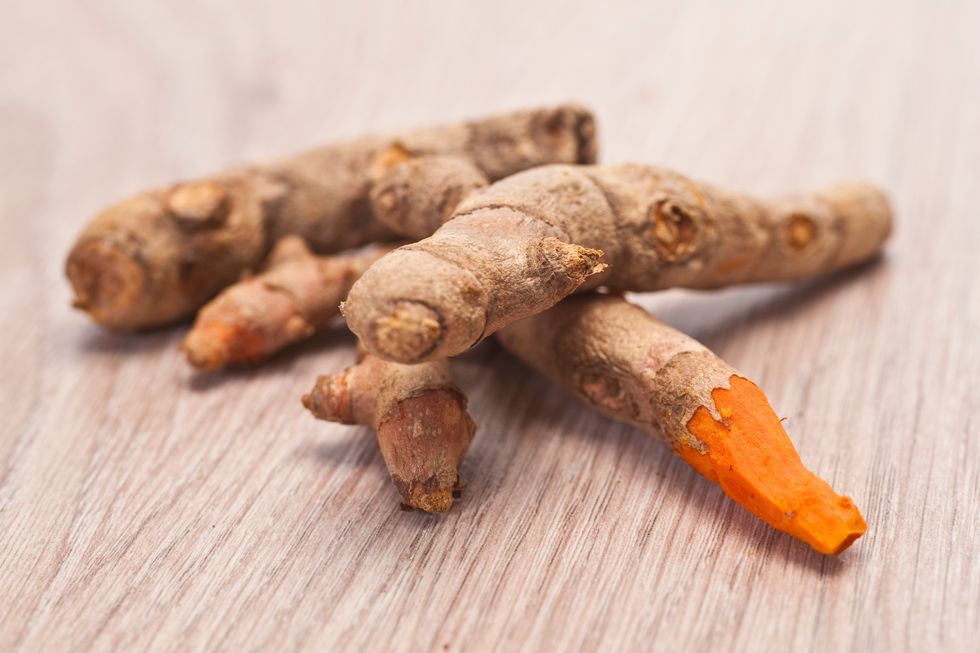
Turmeric is grown from rhizomes, fleshy root-like structures. My local supermarket and health food store both have fresh rhizomes for sale in the winter. Asian or Indian groceries are also likely to stock it, or may be able to order some for you. If you can’t find any locally, Jung Seed sells small potted plants, or you can buy fresh turmeric rhizomes from a number of sellers on Amazon or eBay. (Choose a seller in the U.S. to avoid possible customs issues). Select plump rhizomes with as many bumps (buds) along the sides as possible.
Planting
You will need a 14- to 18-inch pot or planter for each 6 to 8 inches of rhizome, and enough potting soil to fill it. But to start, it's more practical to sprout your rhizomes in smaller containers and then transplant them into the larger containers once they have a few leaves and are growing well. Here's how:
1. Cut your rhizomes into sections, with two or three buds on each section.
2. Fill 3-inch pots halfway with a good potting soil.
3. Lay the rhizome sections flat on the soil, and cover with more potting soil.
4. Water well and slip the pots into clear plastic bags.
5. Place the pots or clamshells in the warmest place you can find (86 to 95 degrees is ideal). Sprouting at lower temperatures will be very slow and your rhizomes may even rot rather than sprout. No toasty location? You can make a great germination chamber with a heating pad or a small desk lamp, a picnic cooler, and a thermometer. Or you can buy a small germination chamber for home use. Light or no light is fine at this stage.
Caring for Growing Plants
1. Keep things light and warm.
Check on your pots every few days and once the sprouts start to emerge, move the pots to a windowsill or under a grow light. Unless your house is really warm (optimal growing temperature at this stage is 77 to 86 degrees) you will want to put them on a heat mat set to the low 80s. As the plants outgrow their plastic covers, remove them.
2. Water as needed.
Once you open the mini greenhouses you will need to start watering your turmeric as needed; keep the soil moist, but not soggy, and mist the leaves once or twice a day with water to keep the humidity up. Allowing the soil to dry out at any point will reduce your final harvest.
3. Transplant to larger pots.
When your plants are 6 to 8 inches tall, carefully transplant them into larger pots (either the final ones or an intermediate size) full of potting soil. Begin turning the heat mat down several degrees each week until you hit 70 degrees. At this point, you can remove the heat mat as long as your indoor temperature averages at about 68 degrees.
Otherwise, continue using the heat mat. Plants in intermediate-sized pots are ready to go in their final pots or planters when they become top-heavy or start sending up more shoots.
4. Move plants outside.
Move your turmeric outside once all chance of frost is past, when the forecast shows only warm nights ahead. Provide partial shade for the first few days to keep tender leaves from getting sunburned. Continue to water as needed during the summer and fall to keep the soil moist but not soggy. Feed your growing plants by watering every couple of weeks with compost tea or applying a fertilizer recommended for potatoes or root crops.
Harvesting
Your turmeric is ready to harvest when the leaves and stem start to turn brown and dry, about seven to 10 months after planting. Tip out the plants, soil and all, and shake the soil off your fresh turmeric. Cut the stems off an inch or so above the mass of rhizomes and wash the rhizomes well.
Storing and Eating
Rhizomes will stay fresh in the fridge for up to six months in an airtight bag or container; toss them in the freezer to save them for longer. Be sure to set a few of the largest aside for replanting!
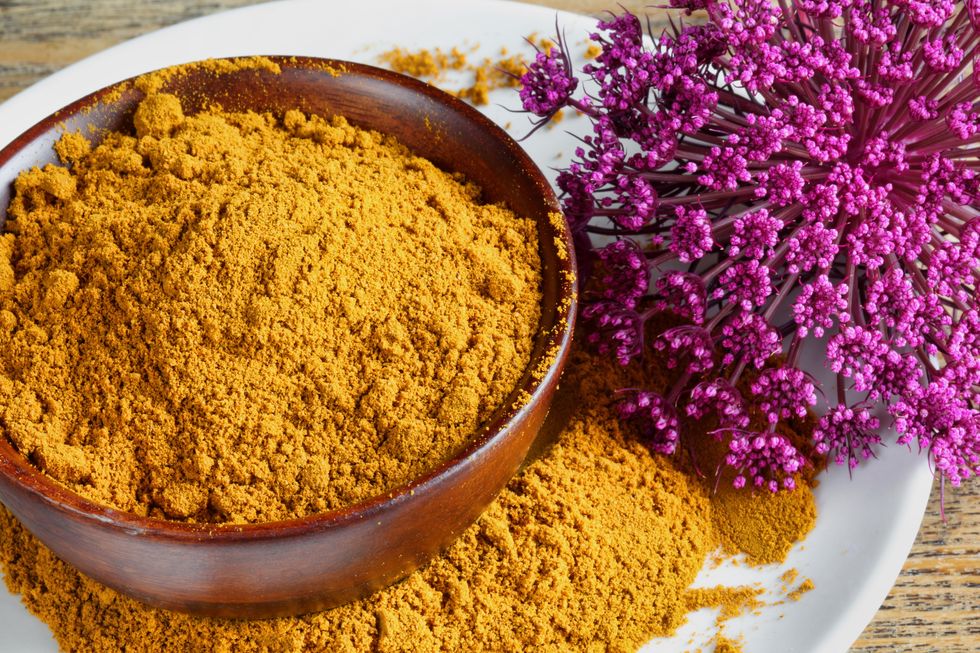
You can also make your own turmeric powder. Place the freshly cleaned rhizomes in a pot and cover them with water, bring them to a boil, and simmer until you can easily pierce them with a fork (depending on their size, this may take 45 to 60 minutes or longer).
Drain the cooked rhizomes, rub the skin off with your fingers (optional), and dry them in the sun or a food dehydrator set at 140 degrees until they are brittle and snap cleanly when you try to bend them. Grind dried rhizomes in a spice mill, coffee grinder, or mortar and pestle to make turmeric powder for cooking. Pro tip: You may want to wear gloves when handling turmeric rhizomes as they will turn your fingers a bright orange that won’t wash off.
Enjoy your tasty and healthful harvest!

