Witch hazel is a popular shrub with both gardeners and herbal remedy practitioners, as its therapeutic applications are many, and it's pleasant to look at as well.
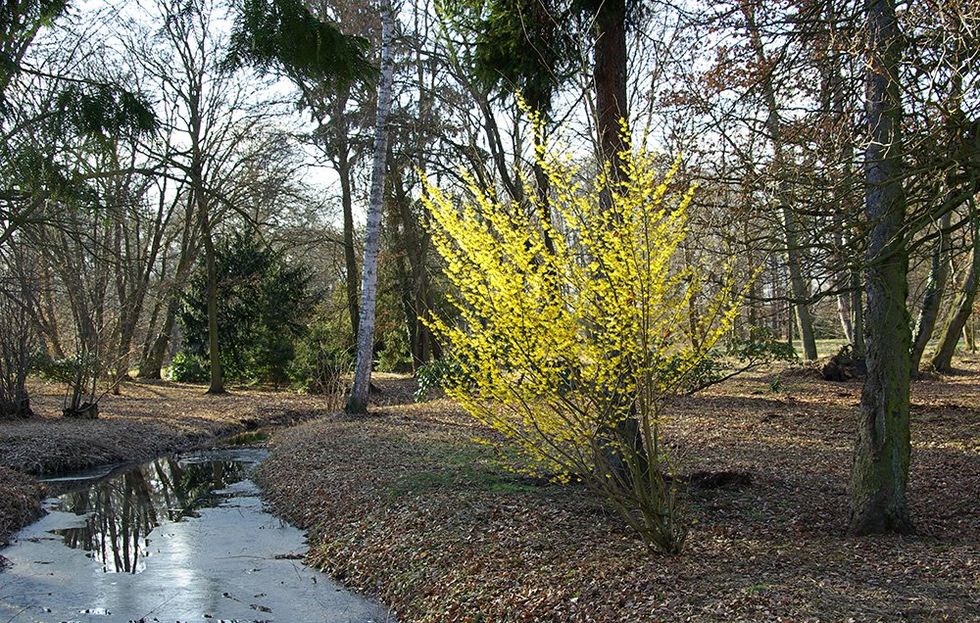
North American witch hazel (Hamamelis virginiana) is a small, often multi-stemmed, tree that grows slowly to 15-20 feet tall. It is hardy in Zones 3-8 (or 9 in partial shade). It will grow in partial shade or full sun (more sun makes for more generous blossoming, but may also leave the leaves looking sad by summer’s end, as they are subject to sunscald in warm climates). It likes a rich, slightly acid soil and in the wild it is often found growing with another acid-lover, blueberries, as an understory in pine, oak, hickory, or maple forests.
(Brag your love of gardening with the Organic Life 2018 Wall Calendar, featuring gorgeous photographs, cooking tips and recipes, plus how to eat more—and waste less—of what's in season.)
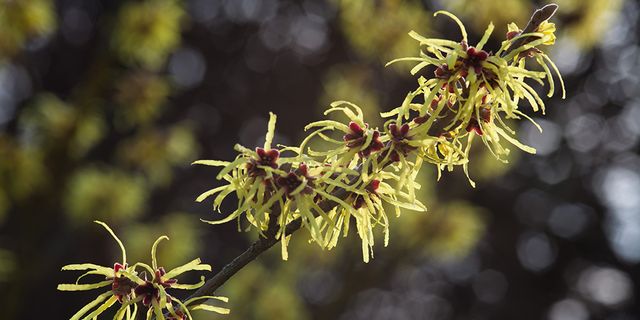
Today’s gardeners usually plant witch hazel for its ornamental qualities, which are many: In spring and summer witch hazel is an attractive plant with dark green leaves and a graceful, spreading vase shape. Come fall, the tree really comes into its own in the landscape: first the foliage turns a brilliant yellow-gold and then the strange, spidery-petalled, yellow-green flowers open, often persisting on the bare branches after the leaves have fallen. In winter the grey-green branches make an attractive addition to the barren landscape. And wildlife appreciate it to: The leaves are an important food source for native insects and many native birds and animals eat the seeds that follow the flowers in the winter. (Witch hazel is one of the best shrubs for adding color to the winter landscape.)
But our ancestors planted it (or protected the witch hazel trees they found growing wild) because of its usefulness. Early settlers learned of its astringent properties (which are due to naturally occurring compounds called tannins) from the Native Americans and adopted it as a home remedy for skin ailments.
Christened H. virginiana by Linnaeus himself, the father of botanical nomenclature, back in 1753, witch hazel takes its common name from wych, an Old English word for flexible or pliable, and for having leaves very similar in shape to those of hazel nuts (Corylus sp.). The flexible character of its branches, which makes them ideal for using as dowsing rods, may have led to the term “witching for water,” referring to the practice of using a forked branch, or two single branches, to locate underground water.
Related: I'm Obsessed With This Witch Hazel Facial Toner—Here's Why You Should Be, Too
Other witch hazels
H. virginiana is the most common native witch hazel in North America, and the one you want to use for making skin-care products. There are other witch hazels you may find growing in gardens or in the wild, but there is one easy way to tell if you have the right one: only H. virginiana blooms in the late fall; all the others bloom in the very early spring.
Planting witch hazel
You can occasionally find plants of H. virginiana in a local garden center or you can order them online from a number of nurseries including the Arbor Day Foundation and Cold Stream Farm. Most H. virginiana plants you find for sale are seedlings, and are all likely to be very similar with minor variations, but a few named cultivars exist and are sold as grafted plants. If you want more options, there are a few specialty nurseries that carry a handful of cultivars, and more are likely to be in the pipeline as interest in witch hazels grows. Broken Arrow Nursery in Connecticut lists a dwarf cultivar called ‘Little Suzie’, a red-flowering cultivar called ‘Mohonk Red’, a dark-yellow-flowering cultivar ‘Phantasm’, and two with two-toned green leaves called ‘Green Thumb’ and ‘Lemon Lime’. Cultivars are likely to have similar astringent properties to seedling trees.
Related: Just A Few Easy Steps To Propagate Your Favorite Shrubs
Plant witch hazel trees in either spring or fall, mulching around them to cut down on weed competition for the first few years (I like to use a few layers of corrugated cardboard covered with a couple of inches of wood chips), and keep them well-watered for the first year. Once the trees are established they need little care. (Here are more tips for planting a new tree.)
Harvesting witch hazel bark
Some herbalists suggest collecting bark in the fall, others prefer to collect it in the spring once the tree’s leaves have started to emerge; so you can take your pick: spring or fall. Here's how to harvest it properly:
1. Use pruning shears or a sharp pruning saw to cut some smaller branches off your witch hazel tree. Make your cuts close to the base of the branch, but try to leave the raised ridge of bark around the branch where it meets the larger branch or trunk intact, as that “branch collar” helps the tree heal the cut more rapidly. Don’t harvest more than one-fifth of any one tree.
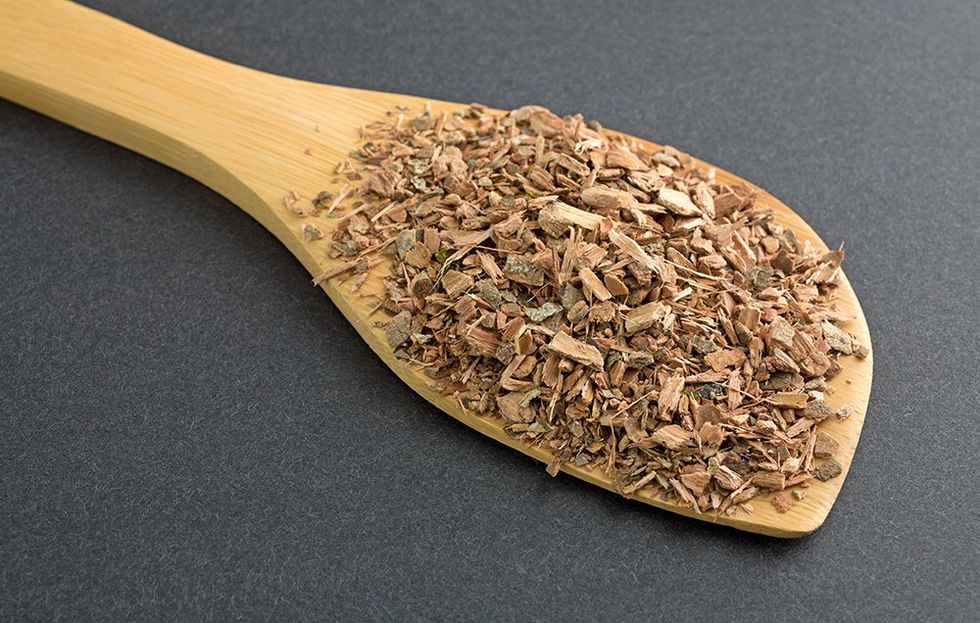
2. Strip off any leaves or flowers, and then use your pruners to snip the thin twigs (about ½-inch in diameter or less) into 2-inch long sections. Use a sharp knife to strip the bark, including the moist underlayer (which is where the good stuff lurks), off the larger sections of your branches. Discard the cores of the peeled branches.
3. You can use your harvested bark right away or dry it for later use.
4. To dry your harvest for later use, spread the bark and twigs in a single layer on screens or in shallow cardboard trays, and put them in a dry, airy location. When dry and crisp, store in glass jars or other containers, in a dry, dark location if possible.
Related: 5 Ways To Use Witch Hazel For Perfect Skin And Hair
Making Your Own Witch Hazel Water
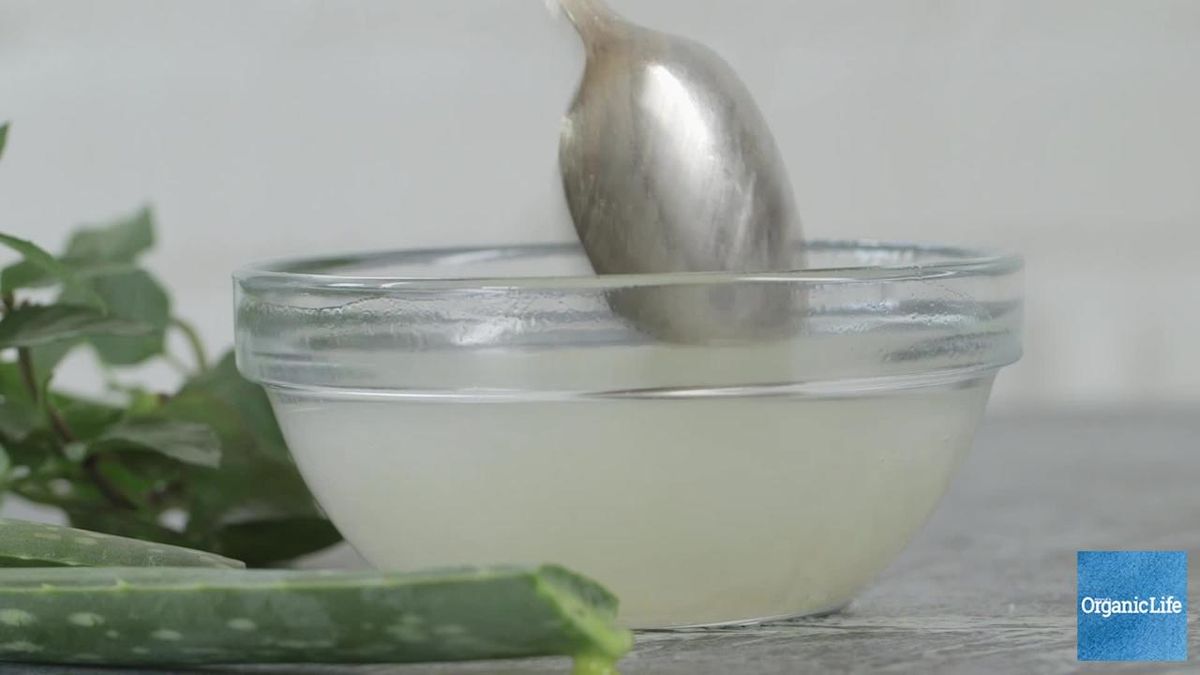
It's easy and fun to make your own version of the witch hazel astringent found on the shelf at your local pharmacy. It is super simple: all you have to do is cook witch hazel bark in water.
Ingredients:
½ pound dried witch hazel bark OR 1 pound of fresh witch hazel bark (see below for harvesting and preparation instructions)
Distilled water
Vodka (optional)
Method:
1. Place the witch hazel bark in a large stainless-steel pot, cover with distilled water and bring to a boil. Then lower the heat and simmer for 8 hours or overnight. Check every hour or so and add more water as needed to keep the bark covered. Alternatively, pour the boiled mixture into a slow cooker and forget it on low for 8 hours or overnight.
2. Turn off the heat and allow the mixture to cool to room temperature.
3. Strain the liquid through cheesecloth or a coffee filter, saving the witch hazel water and discarding the bark.
4. Adding vodka or other alcohol will make your witch hazel water shelf-stable. To add it, measure your finished water and add about 1/3 as much vodka as you have water (for example, if you have 3 cups of witch hazel water, add 1 cup of vodka, to make 4 cups total). Your witch hazel water will be just as effective, and easier on sensitive skin, if you don’t add the alcohol (which can have a drying effect), but you will need to store it in the fridge to keep it from spoiling, as the alcohol acts as a preservative
5. Store in covered glass jars or bottles. If you added alcohol, store at room temperature; if you didn’t add alcohol, store in the fridge.
While you’re at it, try making this easy, natural hand sanitizer:
Using Witch Hazel Water
Witch hazel water is a gentle astringent and anti-inflammatory for your skin. A splash is very refreshing on a hot day: cool and slightly tingly. Daily use helps keep your skin clear and glowing, and it may also be useful in helping to manage acne, poison ivy and other itchy rashes, sunburn, razor burn, bug bites, cuts and scratches, hemorrhoids, varicose veins, and more. (If you don’t want to make your own, we highly recommend this organic witch hazel for skin care.)
Apply witch hazel water by pouring a little into your cupped hand, rubbing your hands together, and then stroking the target area with your wet hands: it should feel pleasant and slightly tingly (slightly more so if you are applying to cuts or scrapes). You can also soak a cotton ball or scrap of clean cloth and use that to apply it to the target area. For some applications where longer contact is desired, soak a gauze pad or a small scrap of clean, folded cloth, and place the pad over the area.
